Orange – Glazed Roast Chicken

This recipe serves 4 and takes about a hour to make.

Ingredients

Sauce:

1/4 cup orange marmalade

2 tablespoons orange juice

1 tablespoon balsamic vinegar

1 teaspoon dried thyme

1/4 teaspoon salt

1/8 teaspoon black pepper

Chicken:

4 chicken breast

2 medium sweet potatoes, peeled and cut into 1 inch cubes

1/4 cup orange juice

1 medium onion, cut into wedges

1 teaspoon olive oil

1/3 cup unsweetened dried cranberries

Heat oven to 375º.  In a small pan, combine all basting sauce ingredients; cook over low heat for 3 – 4 minutes or until marmalade is melted, stirring occasionally. Place chicken in ungreased 15 x 10 x 1 inch baking dish. Brush with half of basting sauce.

In medium bowl, toss potatoes and onions with oil; place around chicken. Bake at 375º for 25 minutes/ Meanwhile, soak cranberries in 1/4 cup orange juice.

Remove pan from oven and brush chicken again with remaining basting sauce. Stir gently to coat vegetables with pan juice. With slotted spoon, sprinkle cranberries over vegetables; drizzle with juice. Return pan to oven; bake an additional 20 minutes or until chicken is done and vegetables are tender.

DIY Mosquito Spray

Backyard

Backyard

We live in the middle of mosquito haven and with the woods flooding every spring I end up spraying commercial chemical laden pesticide in our back yard to try to control these blood suckers. Some years it works and we get to use the backyard but usually the mosquitoes win. I do not spray the front because it is too close to my garden and the dog’s yard so I am definitely going to try this mixture this summer and If it works I will be a very happy person.

Mix one large bottle of cheap blue mouthwash with 3 cups Epsom salts and 3 12 ounce bottles of stale beer together until the salt is dissolved. You can spray this everywhere since it is non-toxic. According to the Facebook post it should keep mosquitoes away for 80 days.

There are many plants that are supposed to help keep mosquitoes away and I will be planting many of these in the garden and next to the patio this year. I have also added bird feeders and birdhouses around the area hoping that I will attract  more birds than mosquitoes.

Here is a list of plants that are supposed to repeal those little blood suckers.

  1. Citronella grass is a perennial that is native to Southeast Asia. It can be grown  just about anywhere  in the United States but will usually dies off during the winter unless you live in USDA climate zones 10-12. This plant requires lots of water, sun, and room since it can grow up to 5 to 6 feet tall. This plant is poisonous to dogs which means I will not be growing any.
  2. Lemon Balm is not just for cooking grab a few leaves and rub them over your skin while sitting on the patio.
  3. African, Mexican, or French Marigolds, The African marigold  can reach heights of 30 to 40 inches and have blooms that are different shades of yellow and orange. The French marigold  gets to be 6 to 24 inches tall but is much more colorful with the added shades of mahogany and crimson. Marigolds need lots of sun and do best in well-drained moderately fertile soil but will grow just about anywhere with a little care.
  4. Basil prefers full sun and well draining soil. All varieties will help repel mosquitoes but you need a lot of basil for them to do this job.
  5. Lemon thyme  is a good choice for this job.This plant is easy to grow and the crushed leaves do a wonderful job of repelling mosquitoes.
  6. Catnip is a perennial  herb that repels both mosquitoes and cockroaches.
  7. Sage is another herb that repels mosquitoes, flies,black fleas beetles, and cabbage moths. It is a perennial that likes full sun and grows to around 18 inches tall.
  8. Penny-royal should be planted with care as it is toxic.
  9. Citronella Geraniums are also toxic so should not be used around children or dogs.
  10. Rosemary is a perennial herb that can reach 6 foot but they are only hardly in Zone 7 to 10.
  11. Lavender is a herb that repels many different insects including mosquitoes.
  12. Bee Balm repels mosquitoes when you crush the leaves and hummingbirds love them.
  13. Cat mint works if you take some of the flowers and boil them in water to make a spray.
  14. Cedar trees are said to help repel these insects but I have not had much luck with them.
  15. Cloves* planted around your garden may help.
  16. Garlic  can be cut up and spread around the patio or turned into a spray. Can be toxic to dogs if digested in large amounts.
  17. Lemon grass
  18. Lemon verbena
  19. Mint

Before planting any plant please do a search to make sure they are safe to use around children and pets.  Remember the best  method of mosquito control is to prevent them from laying eggs and to prevent their larvae from maturing into adults. To do this you must   destroy potential breeding sites in your landscape.Walk around your property and dispose of old cans, tires, or any other containers that hold standing water. Make sure you dump and replace the water in flower pots and birdbaths at least once a week and cover rain barrels with screens to prevent the mosquitoes from laying eggs in the water. You may not be able to remove all standing water, but you can add a thin coat of vegetable oil to the water to smother larvae before they mature – do not use this method in fish ponds or bird baths.

___________

I am still working on the garage part of decluttering and organizing which was the main topic three weeks ago on the web site I am following. The site only devoted a week for this room and it has taken me much longer. I started it last year and am just now getting it almost done. I will say in my own defense that I am not only organizing the garage but repairing and painting all the walls. Yesterday I finished all the painting except for behind one book-case which I will finish next week (I hope). I do have some boxes to sort though first before I clear out the bookcase.

The following week was all about cleaning the attic which I did last year and to tell you the truth I have not been back up there but a few times so it is in good shape. However, I know there are a few things up there that I am ready to part with but I am going to finish the garage before I start that project.

The last two weeks have been simple assignments that have been quick to update from last year so I had lots of time to work on my other projects. Thank goodness because yesterday I did some painting on a new project after I finished in the garage, weeded a flower garden, and organized a meal for twenty people with the help of my husband.


Veggie Burrito

This is my all time go to meals and  I actually misplaced the recipe once. It took over two hours searching my e Reader to find it. Yes, I have that many cookbooks on that machine.

This recipe takes about 20 minutes to prepare and another 20 minutes to bake

100_7124

Ingredients:

1/2 cup chopped raw carrots

1/2 cup chopped raw broccoli

1/2 cup frozen corn, thawed

1/4 cup diced onion

1/2 teaspoon chili powder

1/2 cup grated cheddar cheese

5 flour tortillas

5 teaspoons ranch dressing


Combine all of the vegetables, chili powder, and the cheese in a bowl and mix well. Spread 1 teaspoon of ranch dressing on each tortilla. Scoop 1/2 cup of the vegetable mixture onto each tortilla. Roll up the tortillas and place on an ungreased baking sheet. Cover the tortilla with foil and bake at 350 degrees for 20 minutes.

These cost about 50 cents per tortilla and only contain 230 calories. 9 grams fat, 19 mg Cholesterol. 28 grams carbohydrates, 2 grams fat, 9 grams protein, and 564 mg of sodium

Feeding the birds

100_7109We,well I am not certain how I want to finish this side of our new path but I do know this is the perfect place for my bird feeders. The feeders are high enough so the cats can not jump up into them and they are in an open area which allows the birds a good view of where the cats are. The shrubs are close enough to act as a landing-place without acting as a springboard for the cats and we can watch the birds from the patio and the house.

I include both liquid hummingbird food as well as natural flowers on two of the post. The other two post (one not pictured)  house seed feeders with suet cakes, I feed the wild birds all year not just in the winter and I also supply birdhouses year around.

My theory is a well fed bird will not eat the fruit of my garden but they will and do eat the bugs which provide them with much-needed protein. So far this has been a win win solution.

I usually put the hummingbird feeders out when I see the first hummer which happened this week. I start the season out with commercial nectar which is a bright red color and has a balanced formula of supplements and vitamins because the birds have just finished their long migration and need the extra food since flying insects and blooming flowers are few and far in between. As summer approaches and the birds know were the feeders are and bugs and flowers are plentiful  I change to my DIY formula.  I mix one part ordinary white cane sugar with four parts water. You do not need to boil the mixture however the sugar will dissolve better in hot water.  Any unused syrup should be kept in the refrigerator for up to two weeks.  Do not add honey, brown sugar, jello, fruit, sugar substitutes, or red food coloring to the mixture.

If you do not plan on keeping the feeder clean then don’t even get one.  The hummingbirds will starve before they will use a dirty feeder. Also do not get a feeder if you are afraid of birds because hummers are not shy and will fly up to your face to let you know that the feeder is empty. One of the reason I moved the feeders  away from the outdoor dinning area!

Your feeder should be flushed out with hot water every time you fill it. It should be emptied and cleaned if the solution turns cloudy. Do not use soap to clean the feeder. Check for black mold and clean with a solution of 1/4 cup plain bleach to one gallon of water. Soak feeder for  one hour before rinsing well under running water.  Full strength white vinegar can be used in place of the bleach water. This should be done once a month during the summer to prevent mold.

Be prepared to change the sugar-water mixture  at least every six days and more often during hot weather. Usually I don’t have this problem because the birds have them drained well before the sixth days.

Macrame Hanger

I have always loved the look and feel of rope which makes macrame one of my favorite crafts. I had planed on making two new  hangers for the front porch last year when one of my older hangers finally fell apart after almost twenty years of use. With everything that happened last summer that never got finished and I made – do with an old coat hanger. It worked but was not very pretty to look at.


100_7117

I needed a fairly short hanger since it had to be high enough to discourage my German Shepherd from grabbing at it and I wanted this one to be white so it would stand out from the stone. The one ones were made of brown jute and blended into the background.

I started with 33 yards of cotton outdoor seine, a 2 inch brass ring, and my  8 inch flower-pot.

I cut eight cords to  length of 4 yards each and folded each cord in half and placed the cords thru the ring so that all ends were even and the folds were centered on the ring. I secured the top cords together with a gathering cord that was 18 inches long.

100_7113

I divided the cords into four groups of four and started constructing my knots. The first knot is tied four inches from the bottom of the gathering cord. I begin by tiring a sinnet of 20 half knots with two filler cords. I repeated this with each of the four groups.

100_7115 100_7116

Then I changed the filler cords to tiring cords and tied another sinnet of 20 half knots. Repeat with other three groups.

I than repeated the above process but this time I made a sinnet of only 10 half knots.

To make the basket for the flower-pot I skipped down four inches and took a filler and knotting cord from each of two adjacent knots and tied two square knots having four cord (two knotting and two fillers). Repeat with all the remaining cords.

Last skip down another four inches and tie all the cords together with a 18 inch gathering cord.

Cut fringe to approximately 9 inches.

100_7118

Now I need some trailing flowers added to complete the look.


Lentil Soup

100_7100

Ingredients:

2 celery ribs, thinly sliced

1 medium onion, chopped

1/4 teaspoon garlic powder or 1 medium clove, minced

2 tablespoons butter

6 cups water

1 1/2 pound tomatoes, diced

3/4 cup dry lentils, rinsed

3/4 cup pearl barley

2 tablespoons chicken bouillon granules

1/2 teaspoon dried oregano or 1/2 tablespoon fresh

1/2 teaspoon dried rosemary, crushed or 1/2 tablespoon fresh

1/4 teaspoon black pepper

1 cup thinly sliced carrots

1 cup shredded Swiss cheese or cheese of your choice

Instructions:

In a Dutch oven, saute the celery, onion, and garlic in butter until tender. Add water, tomatoes, lentils, barley, bouillon, oregano, rosemary, and pepper; bring to a boil.  Reduce heat; cover and simmer for 40 minutes or until lentils and barley are almost tender. Add carrots; simmer for 15 minutes or until carrots, lentil, and barley are tender. Sprinkle with the  cheese.


Chit or Not – Growing potatoes

Chitting is simply allowing and encouraging your seed potato to sprout before you plant it in the soil. It isn’t necessary, but it does give your crop a quicker start since you can chit the potato 4 to 6 weeks before it is time to plant them outside. Potatoes like cool weather but do best when planted either two weeks before or after the last frost of spring. They prefer full sun but will fall over in die if they get to hot.

It is important  to buy seed potatoes and not use those from the grocery store. The potatoes you buy to eat have been sprayed with chemicals (another good reason to grow your own) that reduces/eliminates sprouting and they can harbor viruses that you do not want to introduce into your garden.

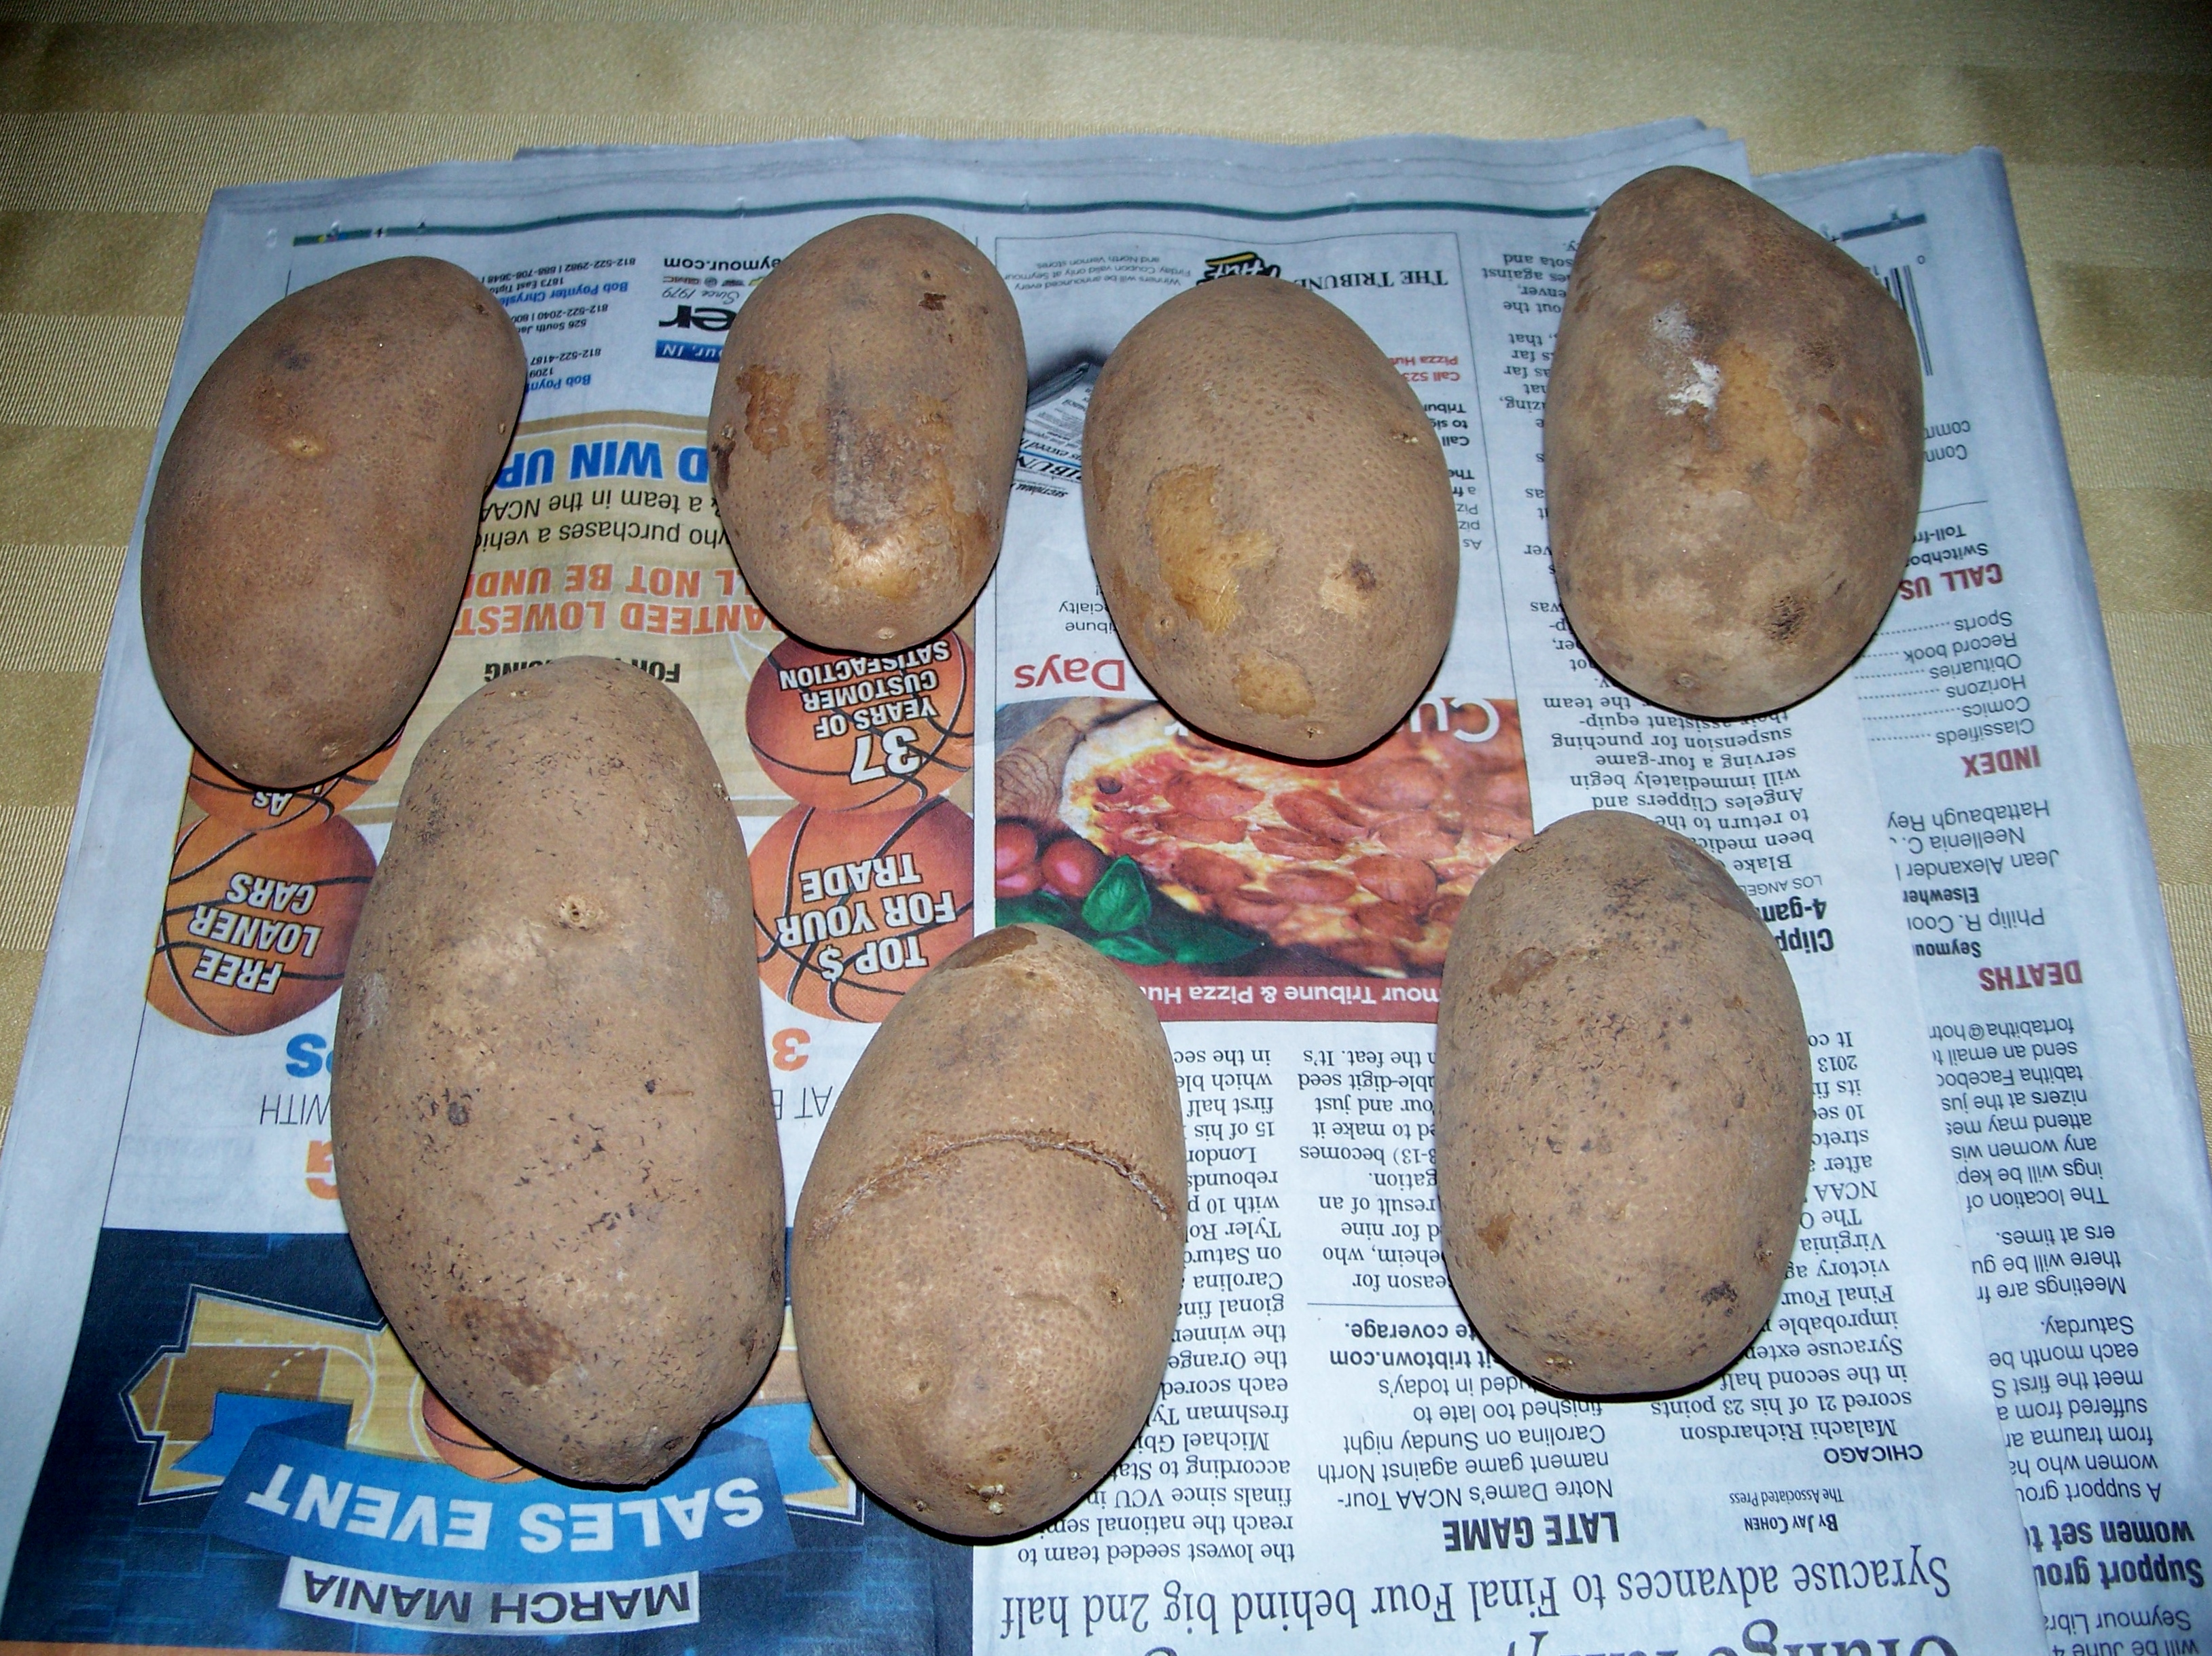
Chose the type of potato you wish to grow by harvest date and your taste preference. Yukon gold potatoes are ready to harvest by mid-season. Superior potatoes are ready to harvest by mid-season.Red Pontiac potatoes are ready to harvest later in the season. Kennebec potatoes are ready to harvest mid- season. Canela Russet are ready to harvest later in the season.

100_7017

My Canela Russet before being placed upright in a tray.

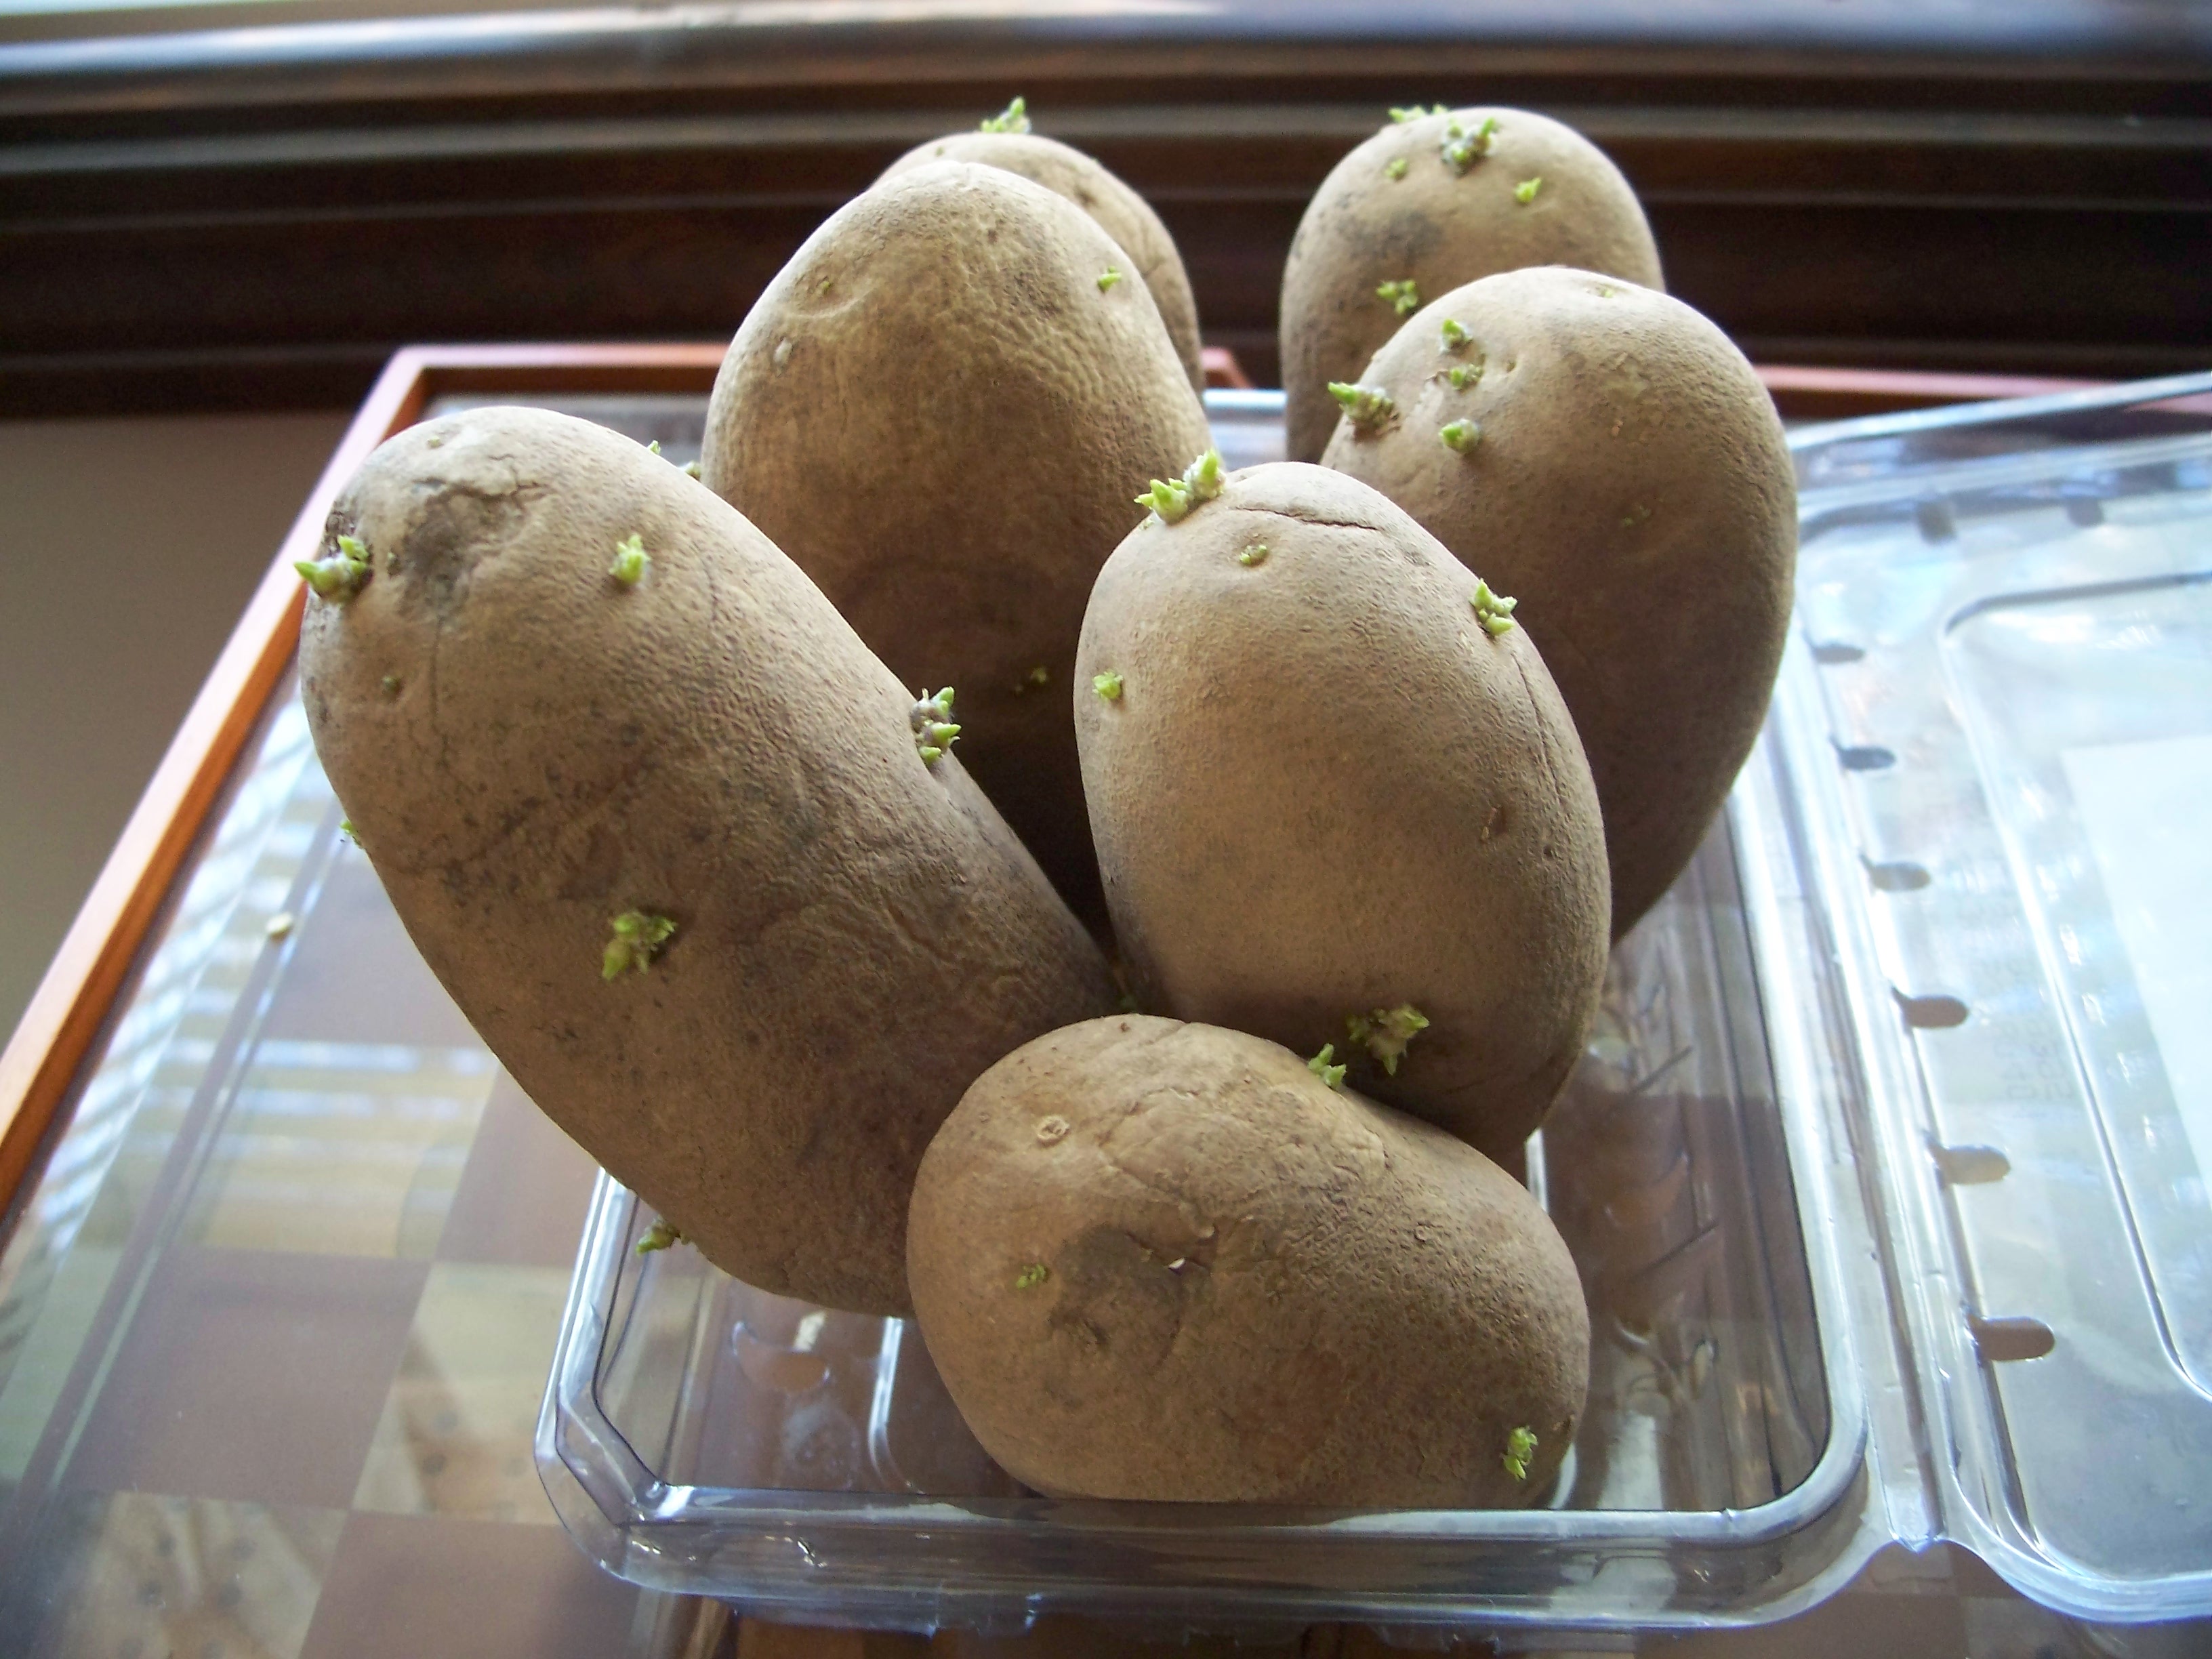
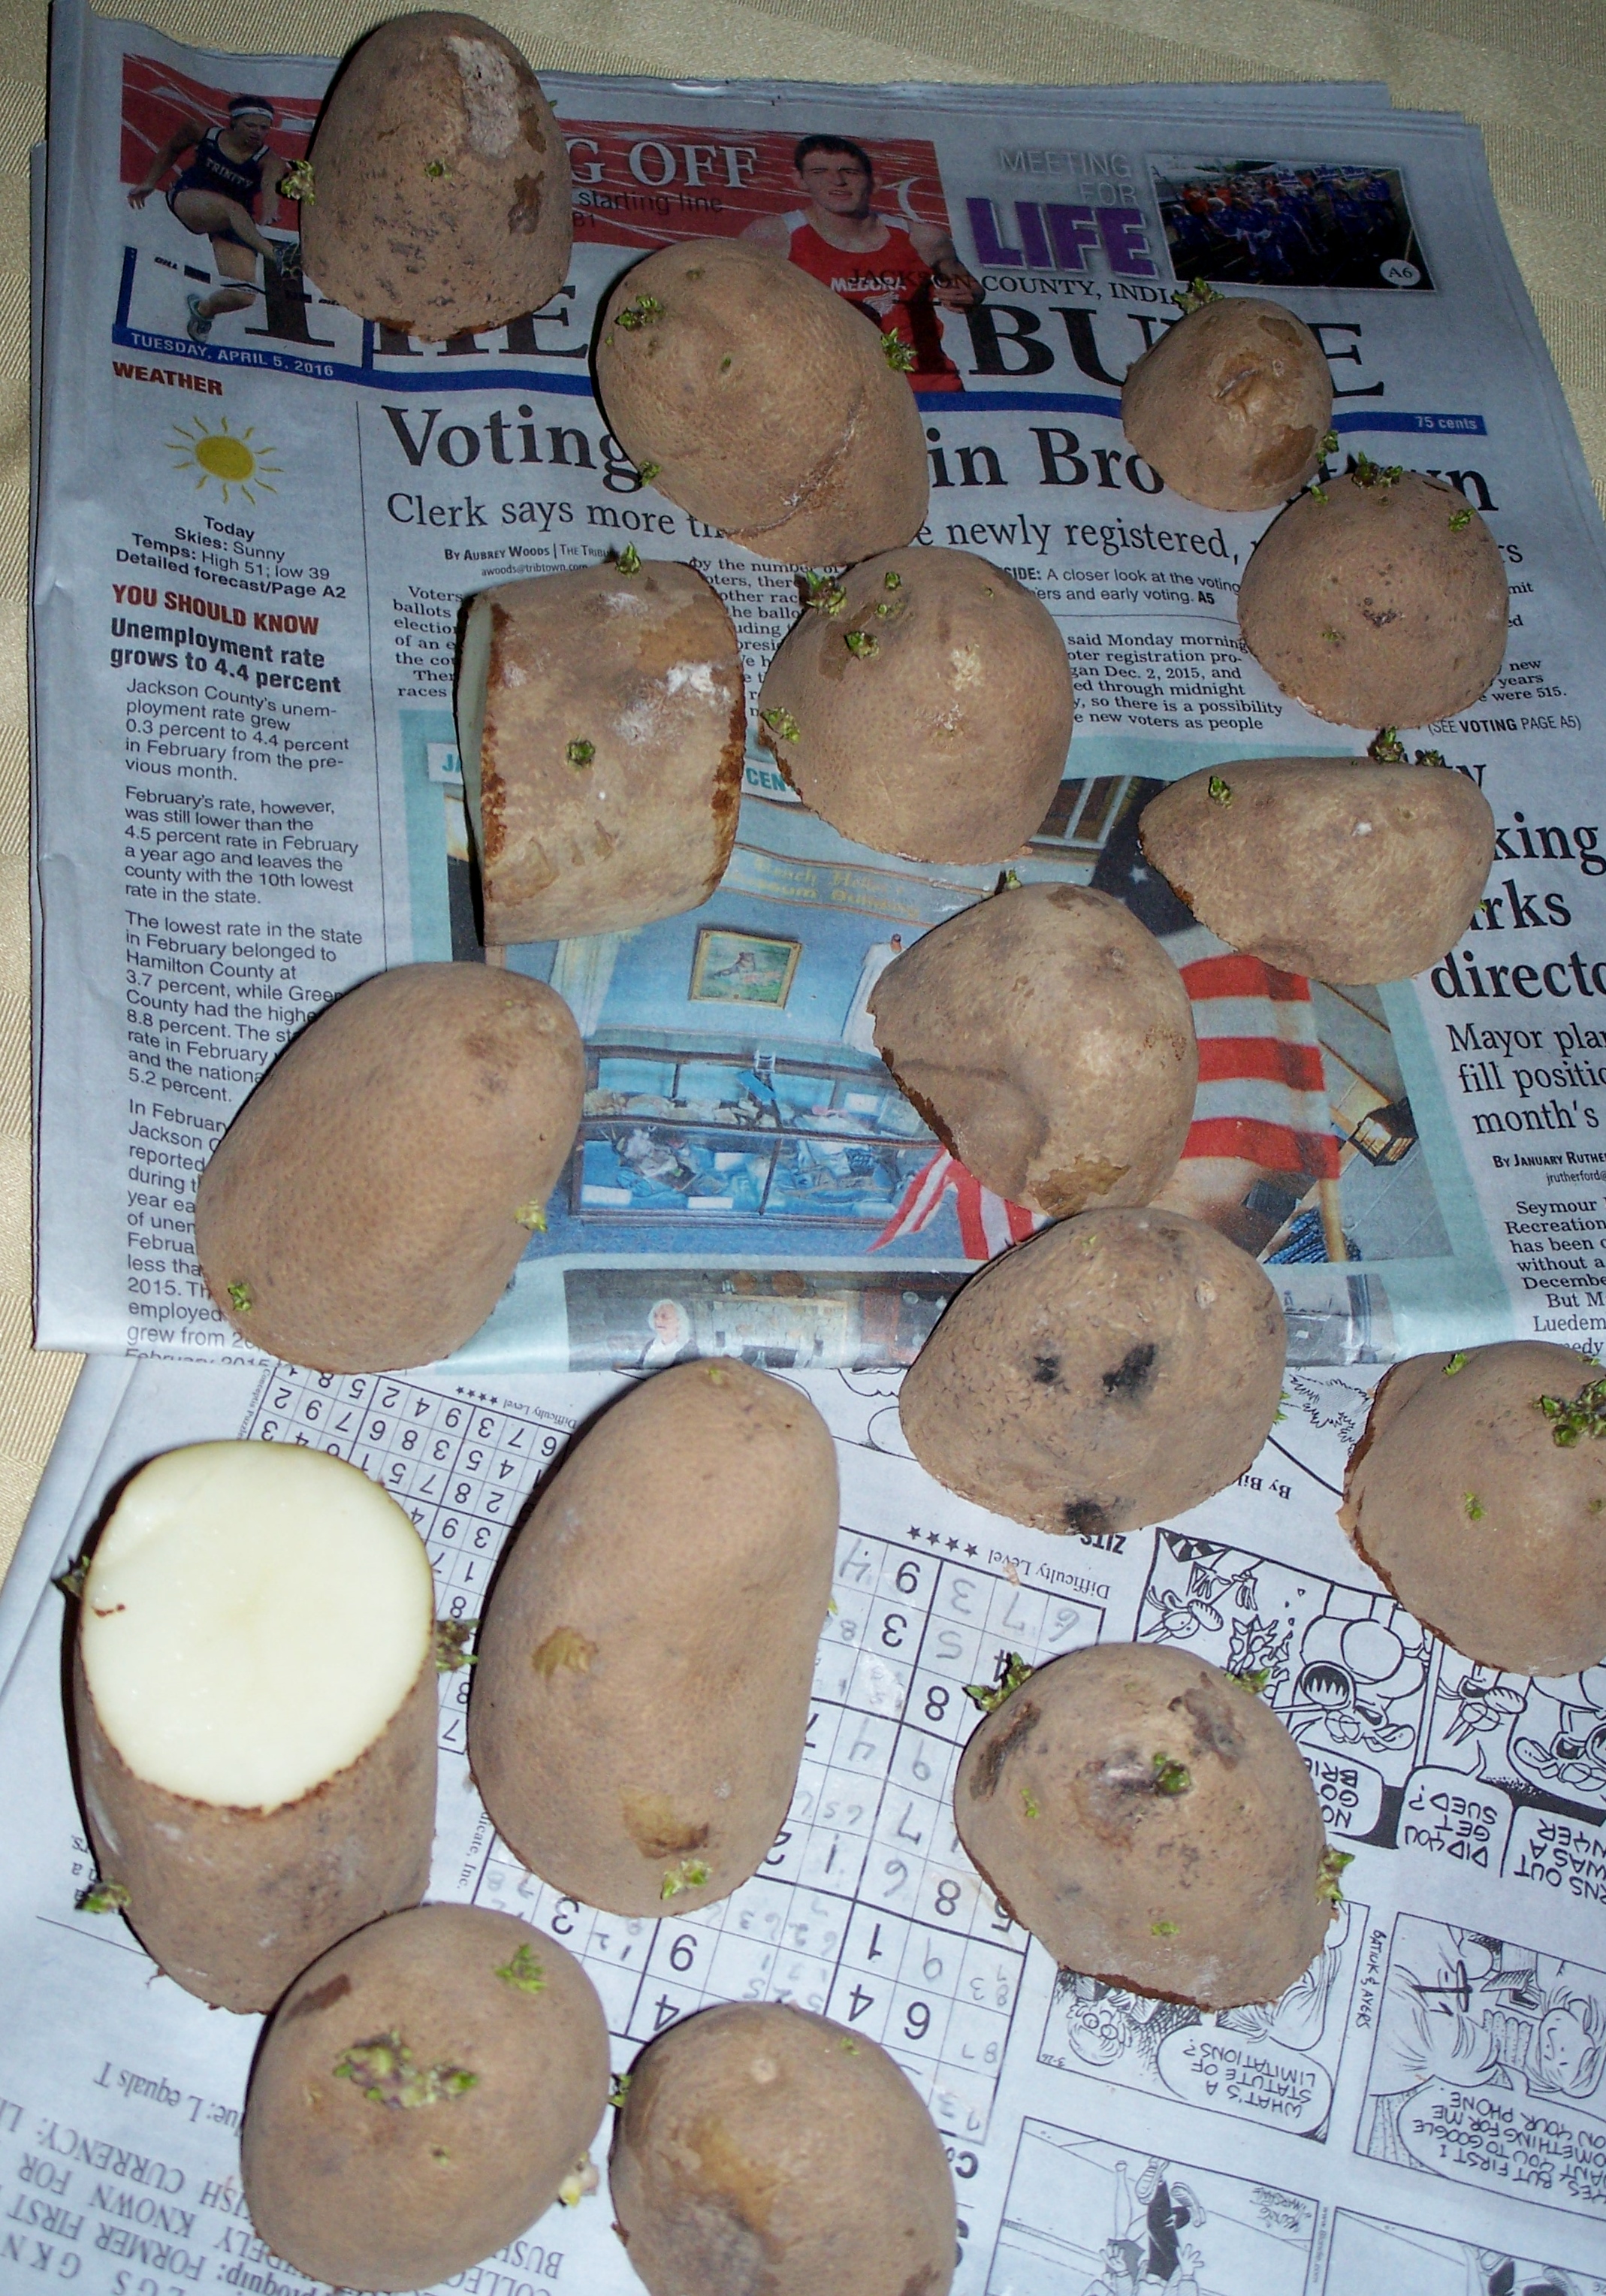
Once you have chosen  your variety  you need to prepare them for planting.At the least a week before planting them into the soil set them out in a warm sunny place inside your home to encourage them to sprout (chit). Check the potato and place the part with the eyes upright and the stem area down in a tray or egg carton.

100_7036After about a week you will see growth from the potato eyes.

100_7071

Two days before planting take any potato that is bigger then 3 inches and slice it into 1 1/2 inch pieces with each piece containing at least two eyes or chits. Be careful not to break the sprouts off when cutting. Potatoes less than 3 inches should be planted whole. Allow the cut potatoes to air dry on newspaper for two to four days so that a thick callous can form over the cuts to protect them once they have been planted.

100_7097

Prepare your potato bags and plant the potatoes cut side down using one of the two methods described in the potato bags entry. I used the “hill – up” method. I filled the bottom of each tub until it  was approximately 1/4 of the way filled. Than I added 4 to 10 seedling potatoes spread equally across the surface.

100_7101

Cover the potatoes with more soil until the tub is half full.
When the potato plants are 8 to 10 ” tall I will fill the tub with more soil until it is 3/4 full. I will
finish filling the tub when the plants have grown another 6 to 8 “.
100_7102
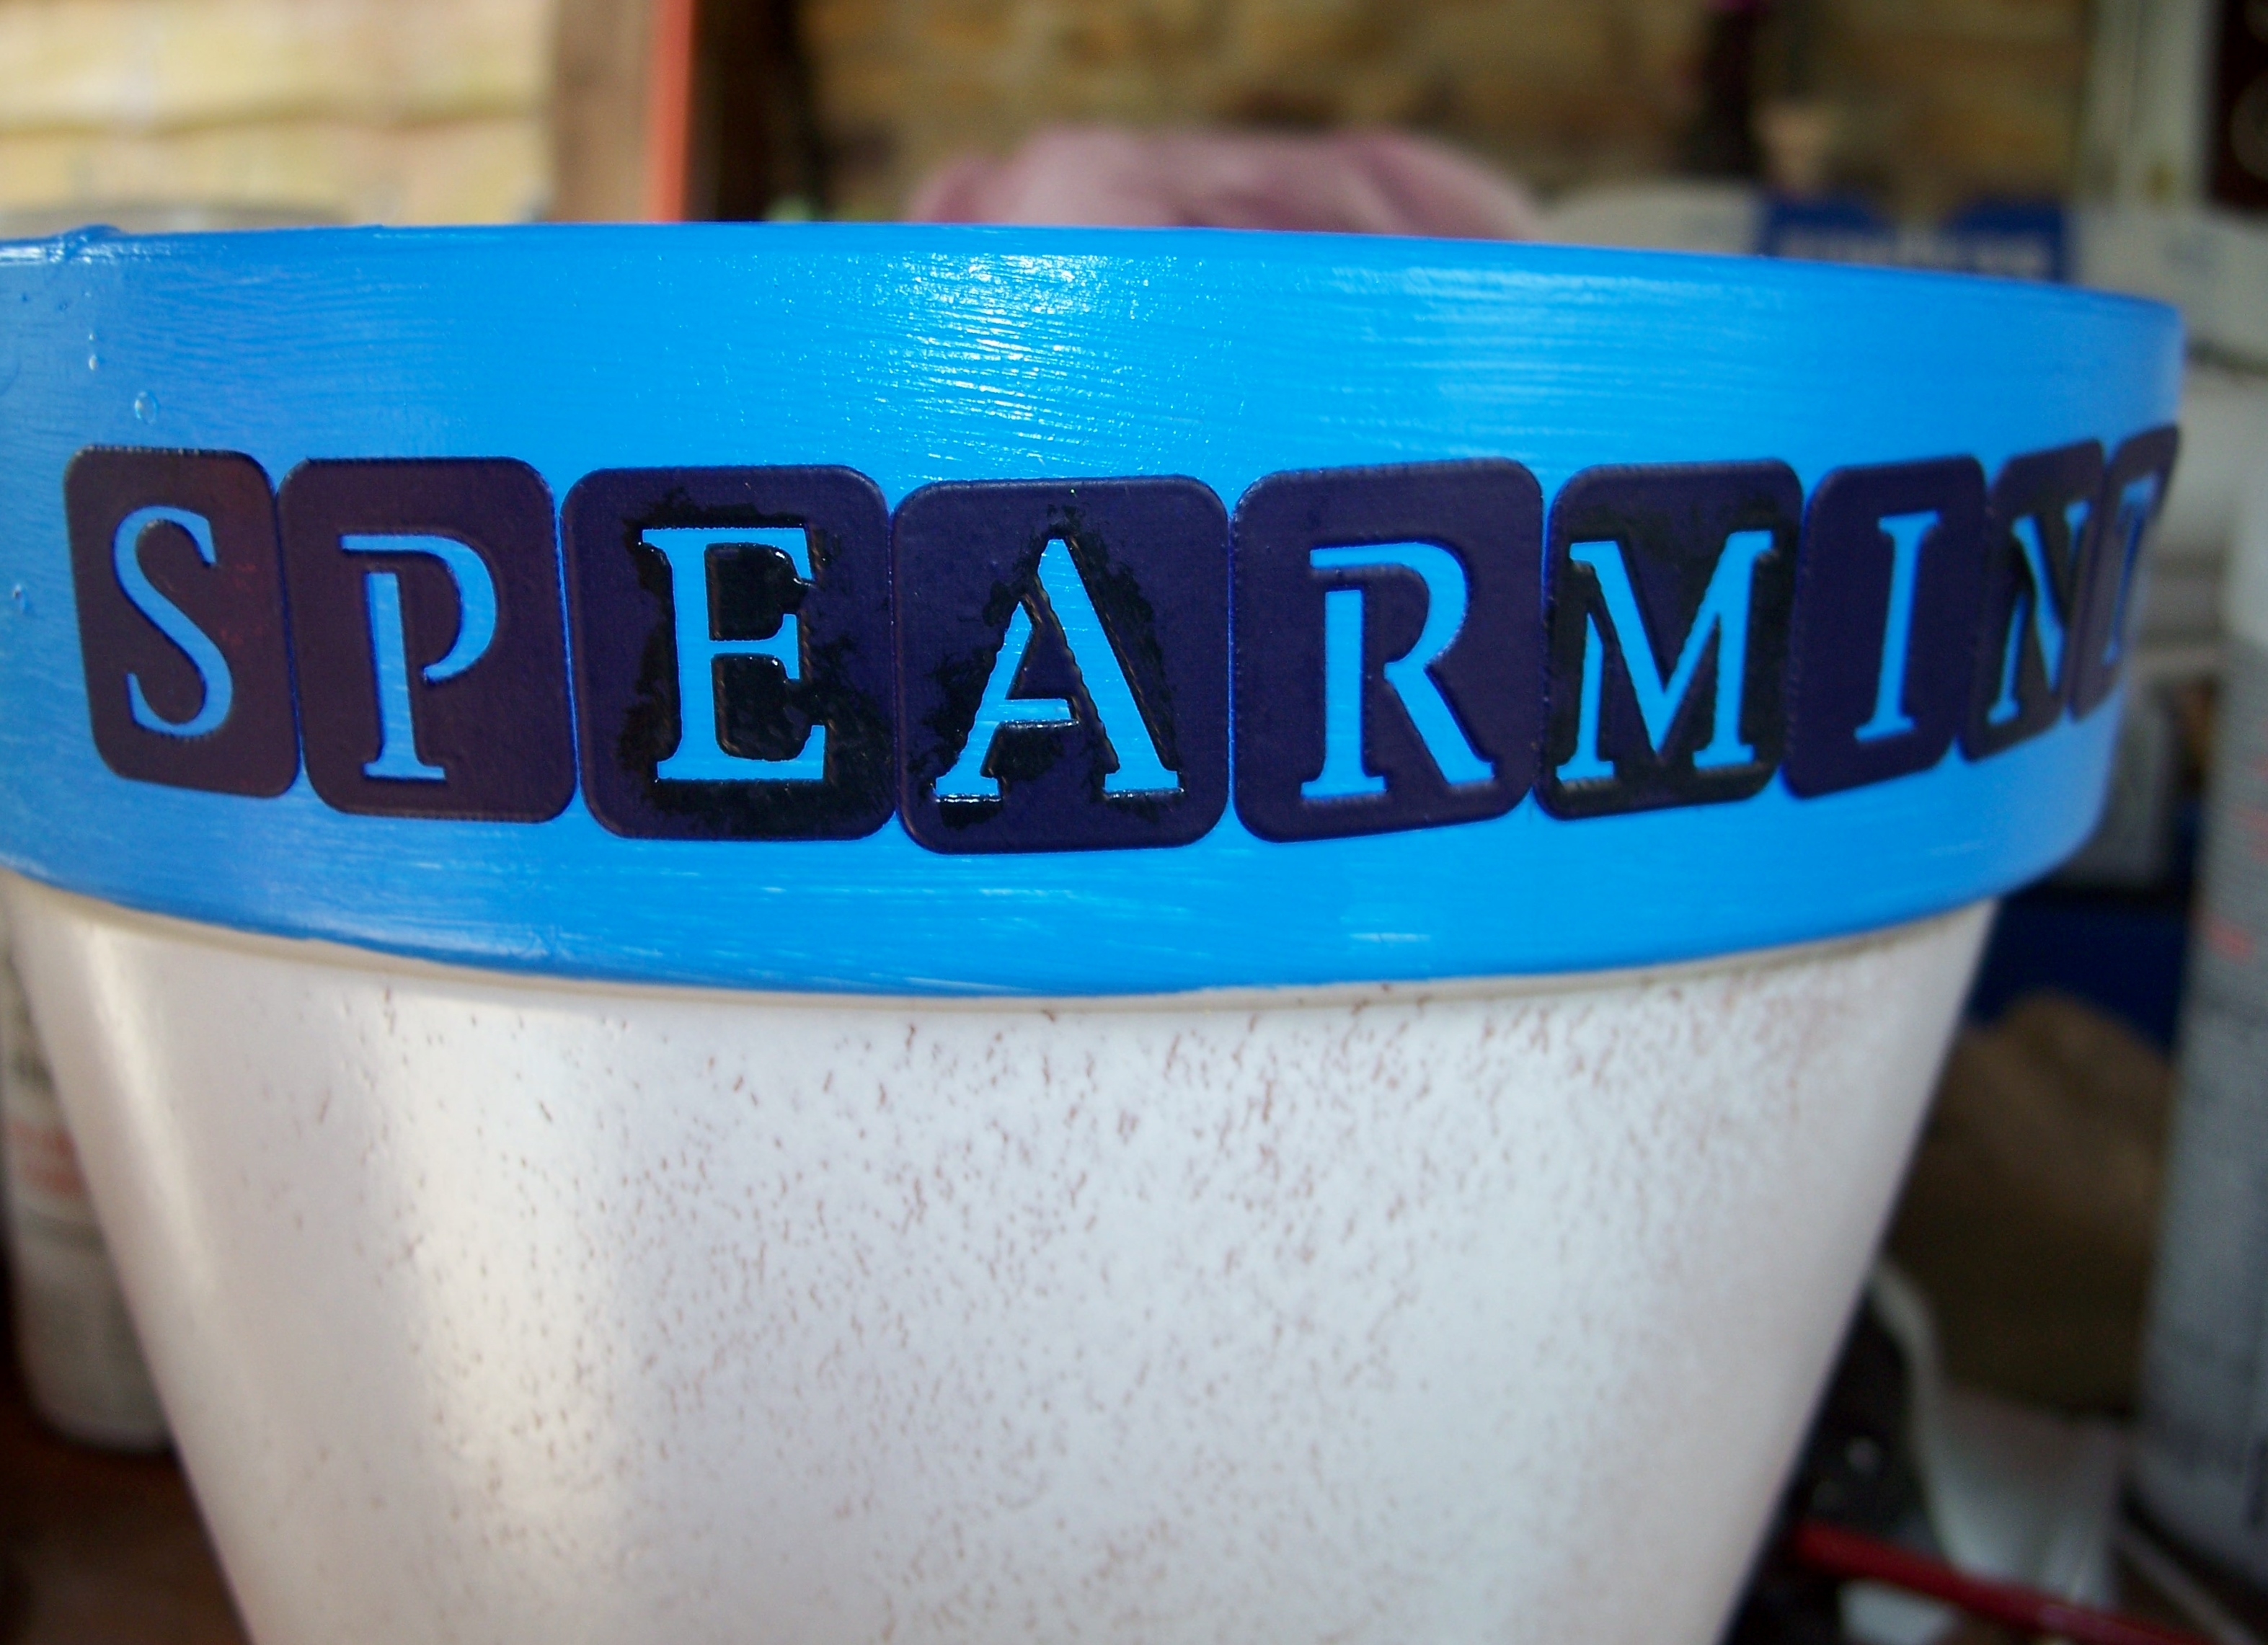
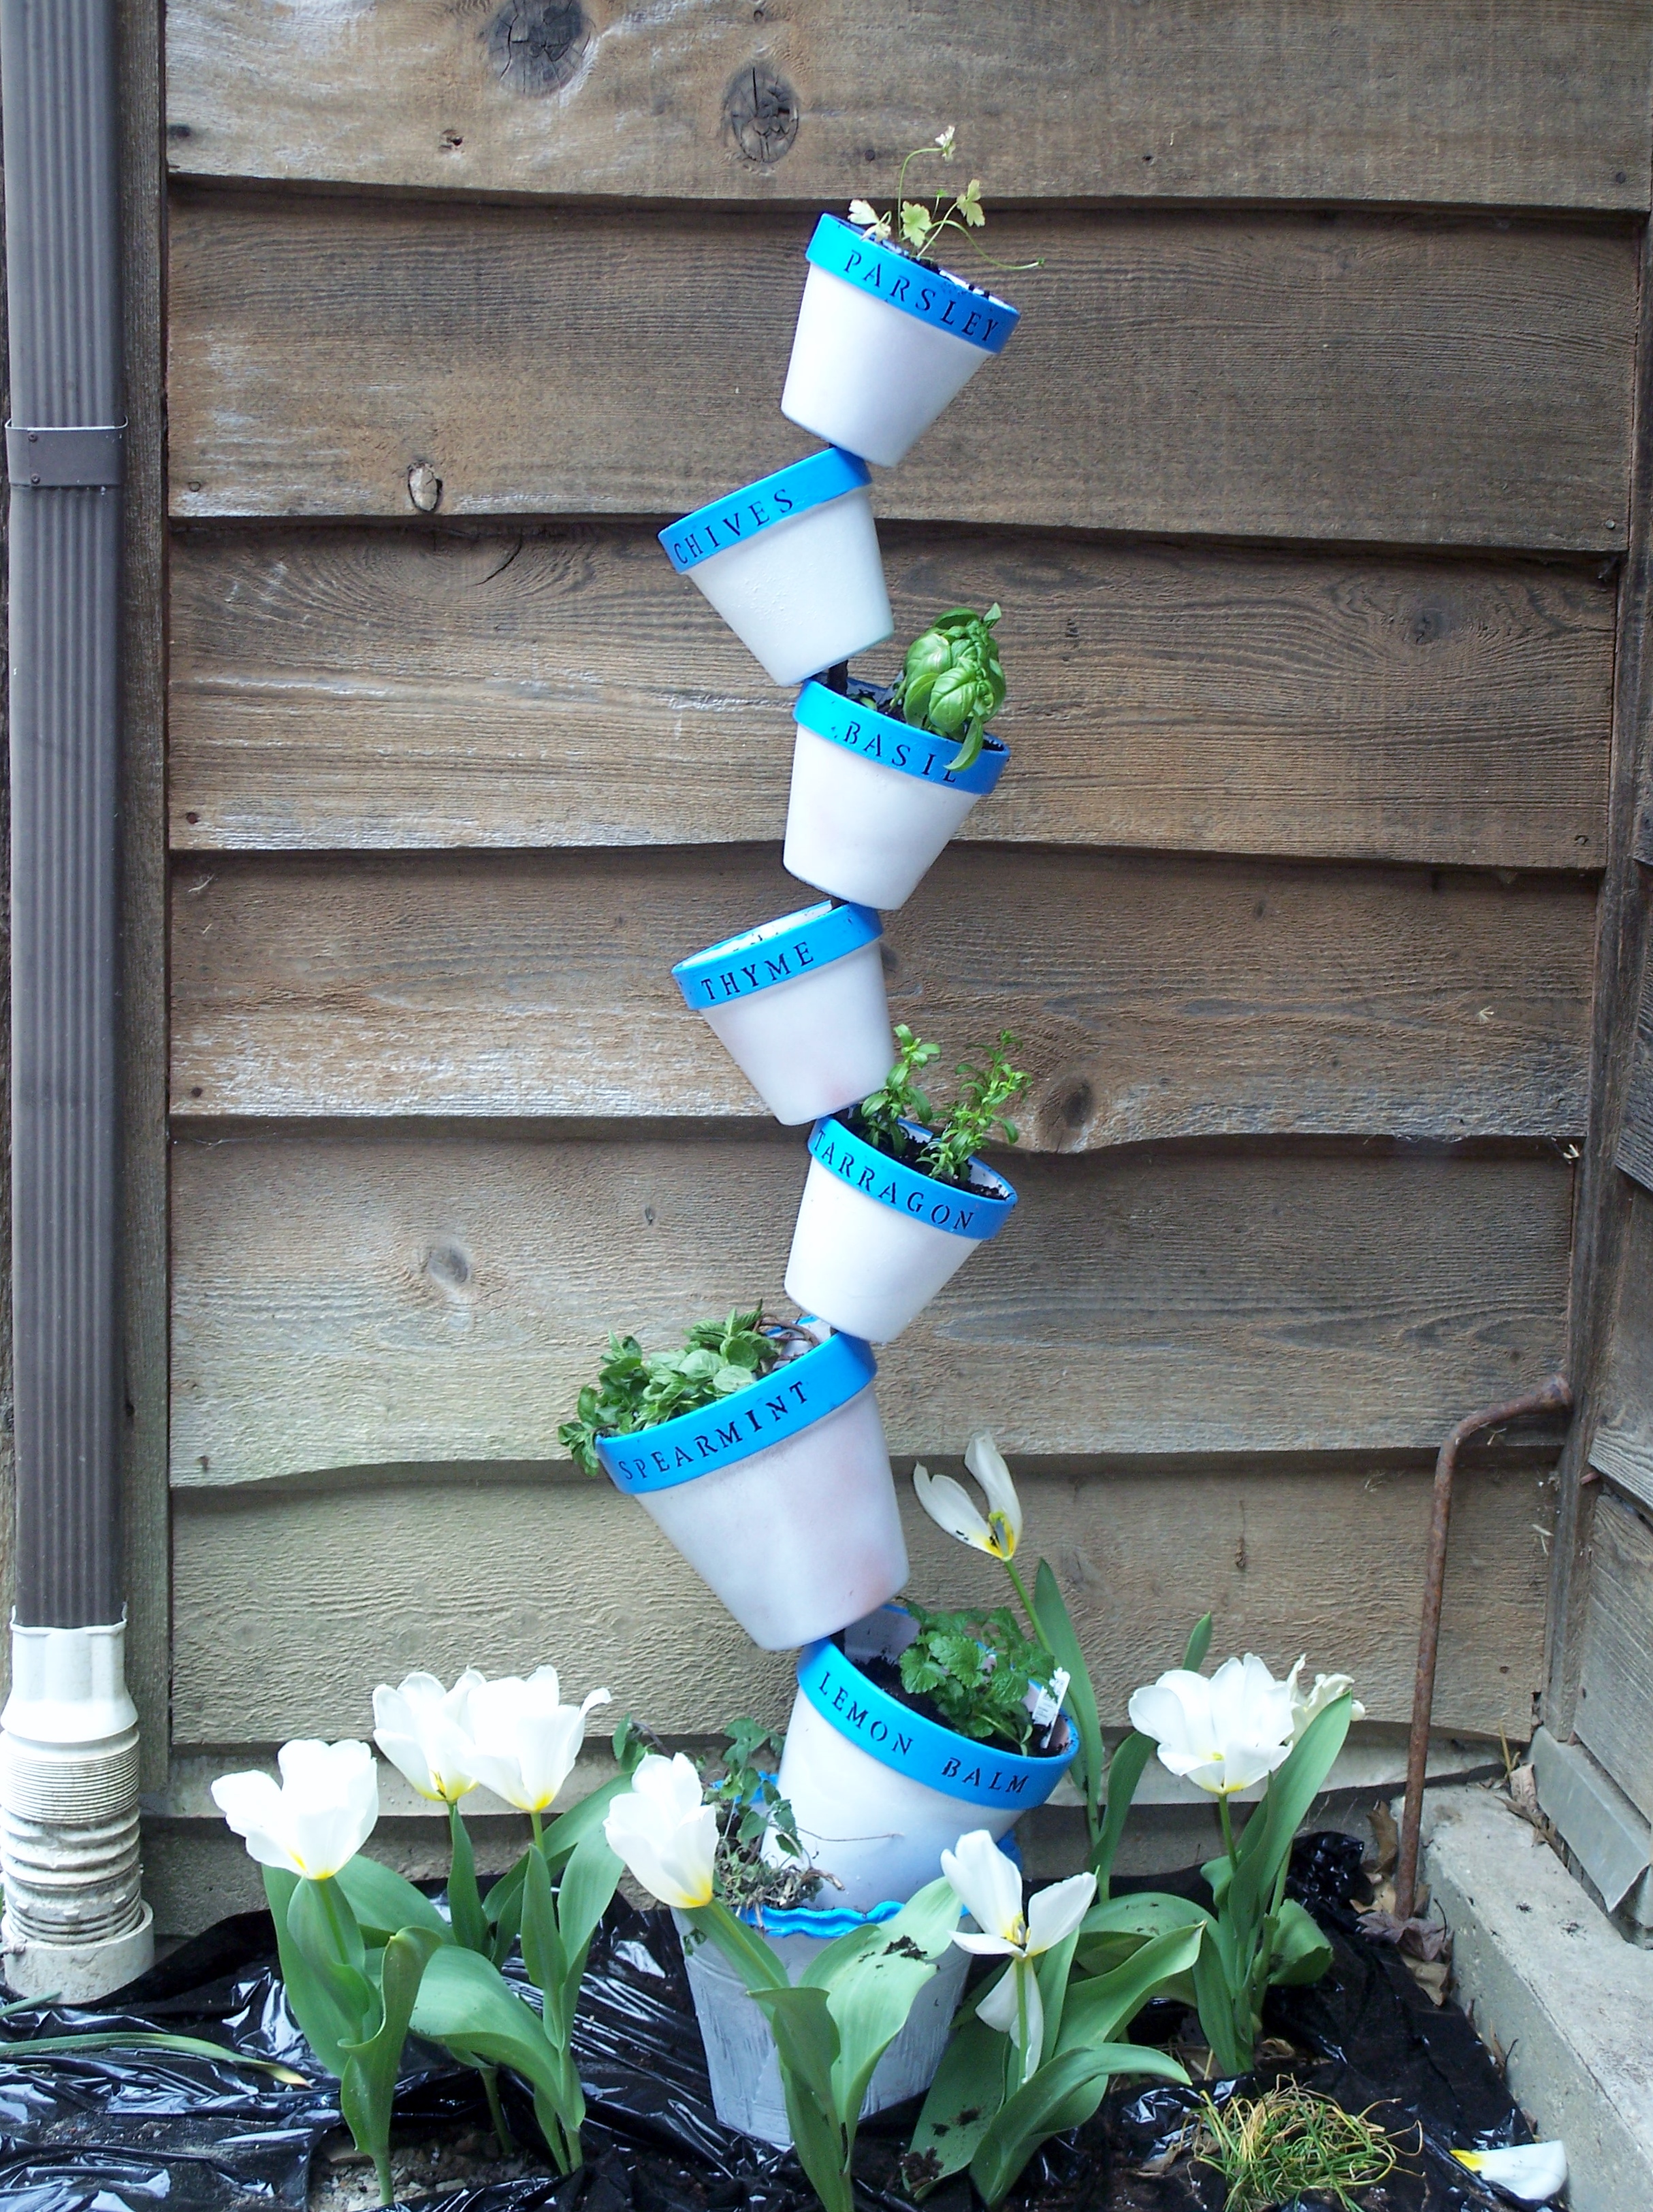
The potato bags are on the corners. They are covered with a piece of screen to prevent the cats from digging into them. Once the potatoes start to grow I will remove the screens and add more soil. The area is still a bit of a mess since it is a work in  process.

Keep the potatoes well watered especially when they are flowering but do not soak them. It is best to water early in the morning so that the leaves can dry before nightfall.

Depending on which method you choice you may need to add more soil to “hill-up” the plant. After five weeks this needs to be done about every 2 to 3 weeks.

You can begin to harvest “new” potatoes which are very small about 2 to 3 weeks after the plant has started to flower. To harvest these potatoes carefully reach in and remove the largest potatoes leaving the very small ones along. Replace any soil that you displaced. You can do this all season long just remember that the mature harvest will not be as big.

The mature plant leaves will start to turn yellow or brown when the plant is ready to be harvested. Stop watering and allow the area to dry for about a week before dumping the bag ans collecting the potatoes.

Do not store the new potatoes immediately but allow them to dry onto top of the soil or on an airy porch if it is raining so that the skin can toughen up.Do not wash the potatoes before allowing them to dry.

Store in a cool dry place until you eat them!

Southwestern Casserole

This makes 2 casseroles  so if you just want one you will need to half the recipe. However, the extra casserole freezes well and make a nice quick meal for busy days – just take it out of the freezer in the morning and put it in the refrigerator for 8 hours. When you get back home simply cover and bake at 375 degrees for 20 – 25 minutes.

Ingredients:

7 ounces elbow macaroni

2 pounds ground meat (beef or chicken)

1 large chopped onion

1/4 teaspoon garlic powder or 1 medium clove, minced

2 pounds diced tomatoes

16 ounce can of kidney beans, drained and rinsed

6 ounces tomato paste

1 1/2 teaspoon salt

1 teaspoon chili powder

1/2 teaspoon ground cumin

1/2 teaspoon black pepper

2 cup shredded cheese

Cook macaroni according to package. Meanwhile cook ground meat, onion, and garlic, over medium heat until meat is cooked; drain. Stir in tomatoes, beans, and tomato paste, and seasonings. Bring to a boil. Reduce heat; simmer, uncovered for 10 minutes. Drain macaroni; stir into meat mixture. Transfer to two greased 2 quart baking dishes. Top with cheese ans bake, covered, at 375 degrees for 30 minutes. Uncover and bake for an additional 10 minutes or until bubbly and heated through. Serve one and cool, cover, and freeze the other one for up to three months.


Painting Terra cotta pots

013

I made this Topsy -Turvy  Planter back in April 2014 .I liked the way it looked in this location but the plants had a hard time living since they would dry out too quickly. Recently we added a new patio and I moved this planter to a new area.

100_6997Notice the problem! The planter blended in with the wall and could not be seen. My solution was to paint the flower pots but first I had to clean them which took a good week.

After cleaning the pots and allowing them to dry completely I sprayed them inside and out with a clear finish to keep the moisture inside the pot.

100_7076

The pots sprayed are the shiny ones the two larger pots are what they looked like before being sprayed.

100_7034I waited a full day before spraying the pots a gloss white color. I sprayed the entire outside and at least an inch down from the rim on the inside. Wait for them to dry completely.

100_7084I gave the pots a second coat of paint and waited a full day before painting the rims.with Apple Barrel Multi-purpose paint in Electric blue. I found that a foam brush worked best and I give them two coats.

100_7088 I waited two days before I stenciled the rims because I used Folk Art peel & stick stencils and  wanted the rims to have a chance to cure a little before applying the stickers.

100_7098I really love these stencils! They can be reused up to a least 20 times and clean with soap and water. I used Apple Barrel multi-purpose paint in black and a small round brush to stencil the names of the herbs onto the rims. Load the brush with paint and dab the brush onto a paper towel before dabbing the stencil. Remove the stencil while the paint is still wet and allow it to dry.

After another 24 hours I sprayed the pots again with a clear finish to protect the paint job. The hardest part of this project was the wait time but it is also the most important part. Everything must be completely dry before going to the next step and this was the hardest wait of all – the pots needed to cure for 48 hours before adding the soil and plants but the finally results turned out wonderfully.

100_7099The plants are small and I just sowed the thyme and chives into the pots. I had planned on dividing a clump of chives from the garden but it turned out to be harder than I imagined so I took the easy route and sowed more seeds.  Now to get the rock mulch laid.