I am still working on the back shade garden trying to find the right things to plant because due to the increase of shade it no longer supports regular vegetables. I have even tried vegetables that were suppose to be okay in partial shade and by mid summer they were gone.
I decided to try herbs this year but I had to do a lot of research to find some that are supposed to like shade.
First I had to decide just how much sun the area receives. Deeply shaded or fully shaded describes a garden that receives no direct sun and very little if any reflected sunlight. Lightly shaded describes a garden that receives an hour or two of sun each day or is light, airy, and well illuminated by reflected or indirect light for a good portion of the day. Partially shaded describes a garden that receives the direct sun for two to six hours and is lightly shaded or receives dappled shade the remainder of the day.
Dill, tarragon, fennel, hyssop, bay, lavender, oregano, cilantro, basil, sweet marjoram, rosemary. sage, and myrtle all prefer the full sun.
Angelica, basil, bee balm, calendula (Pot marigold), catnip, chamomile, chervil, chives, cilantro, comfrey, costmary, echinacea, eyebright, garden cress, garlic, germander, horseradish, Lady’s mantle. lemon balm, lovage, oregano, parsley, peppermint, rosemary, sorrel, spearmint, sweet flag, sweet woodruff, tarragon, thyme, valerian, and wild strawberry can handle partial shade.
St. John’s wort, evening primrose, lungwort, valerian, and sweet violet prefer full shade.
When planning a herb garden you need to decide on how you are going to use your herbs. Do you want cooking herbs, herbs for teas, herbs for general health, or for crafts?
A culinary herb garden may include rosemary, basil, thyme, tarragon, fennel, marjoram, sage, and garlic.
A general health (teas, etc.) may include German camomile, feverfew Lady’s mantle, Roman camomile, and echinacea.
A herb garden for skin care may include lavender, red clover, Roman camomile, myrtle, and calendula.
I want this enclosed garden for cooking so I chose mainly herbs used in cooking. This is the 2017 Herb garden plan.

Basil, 2
|
Asparagus |
Asparagus |
Asparagus |
Asparagus |

Dill, 9
|
|
Basil, 2
|
Asparagus |
Asparagus |
Asparagus |
Asparagus |
Dill, 9
|
|
Basil, 2
|
Asparagus |
Asparagus |
Asparagus |
Asparagus |
Dill, 9
|
The asparagus was planted last year and grow nicely. I hope it does well this year.
Bed B

Parsley, 2
|
|

Cilantro, 9
|

Rosemary, 1
|
|

Sage, 1
|
|
Parsley, 2
|
|
Cilantro, 9
|
Rosemary, 1
|
|
Sage, 1
|
|
Parsley, 2
|
|
Cilantro, 9
|
Rosemary, 1
|
|
Sage, 1
|
Bed C

Oregano, 1
|
|

Chives, 1
|

Thyme, 2
|
|

Lemon balm, 1
|
|
Oregano, 1
|
|
Chives, 1
|
Thyme, 2
|
|
Lemon balm, 1
|
|
Oregano, 1
|
|
Chives, 1
|
Thyme, 2
|
|
Lemon balm
|
Bed D
|
|
|

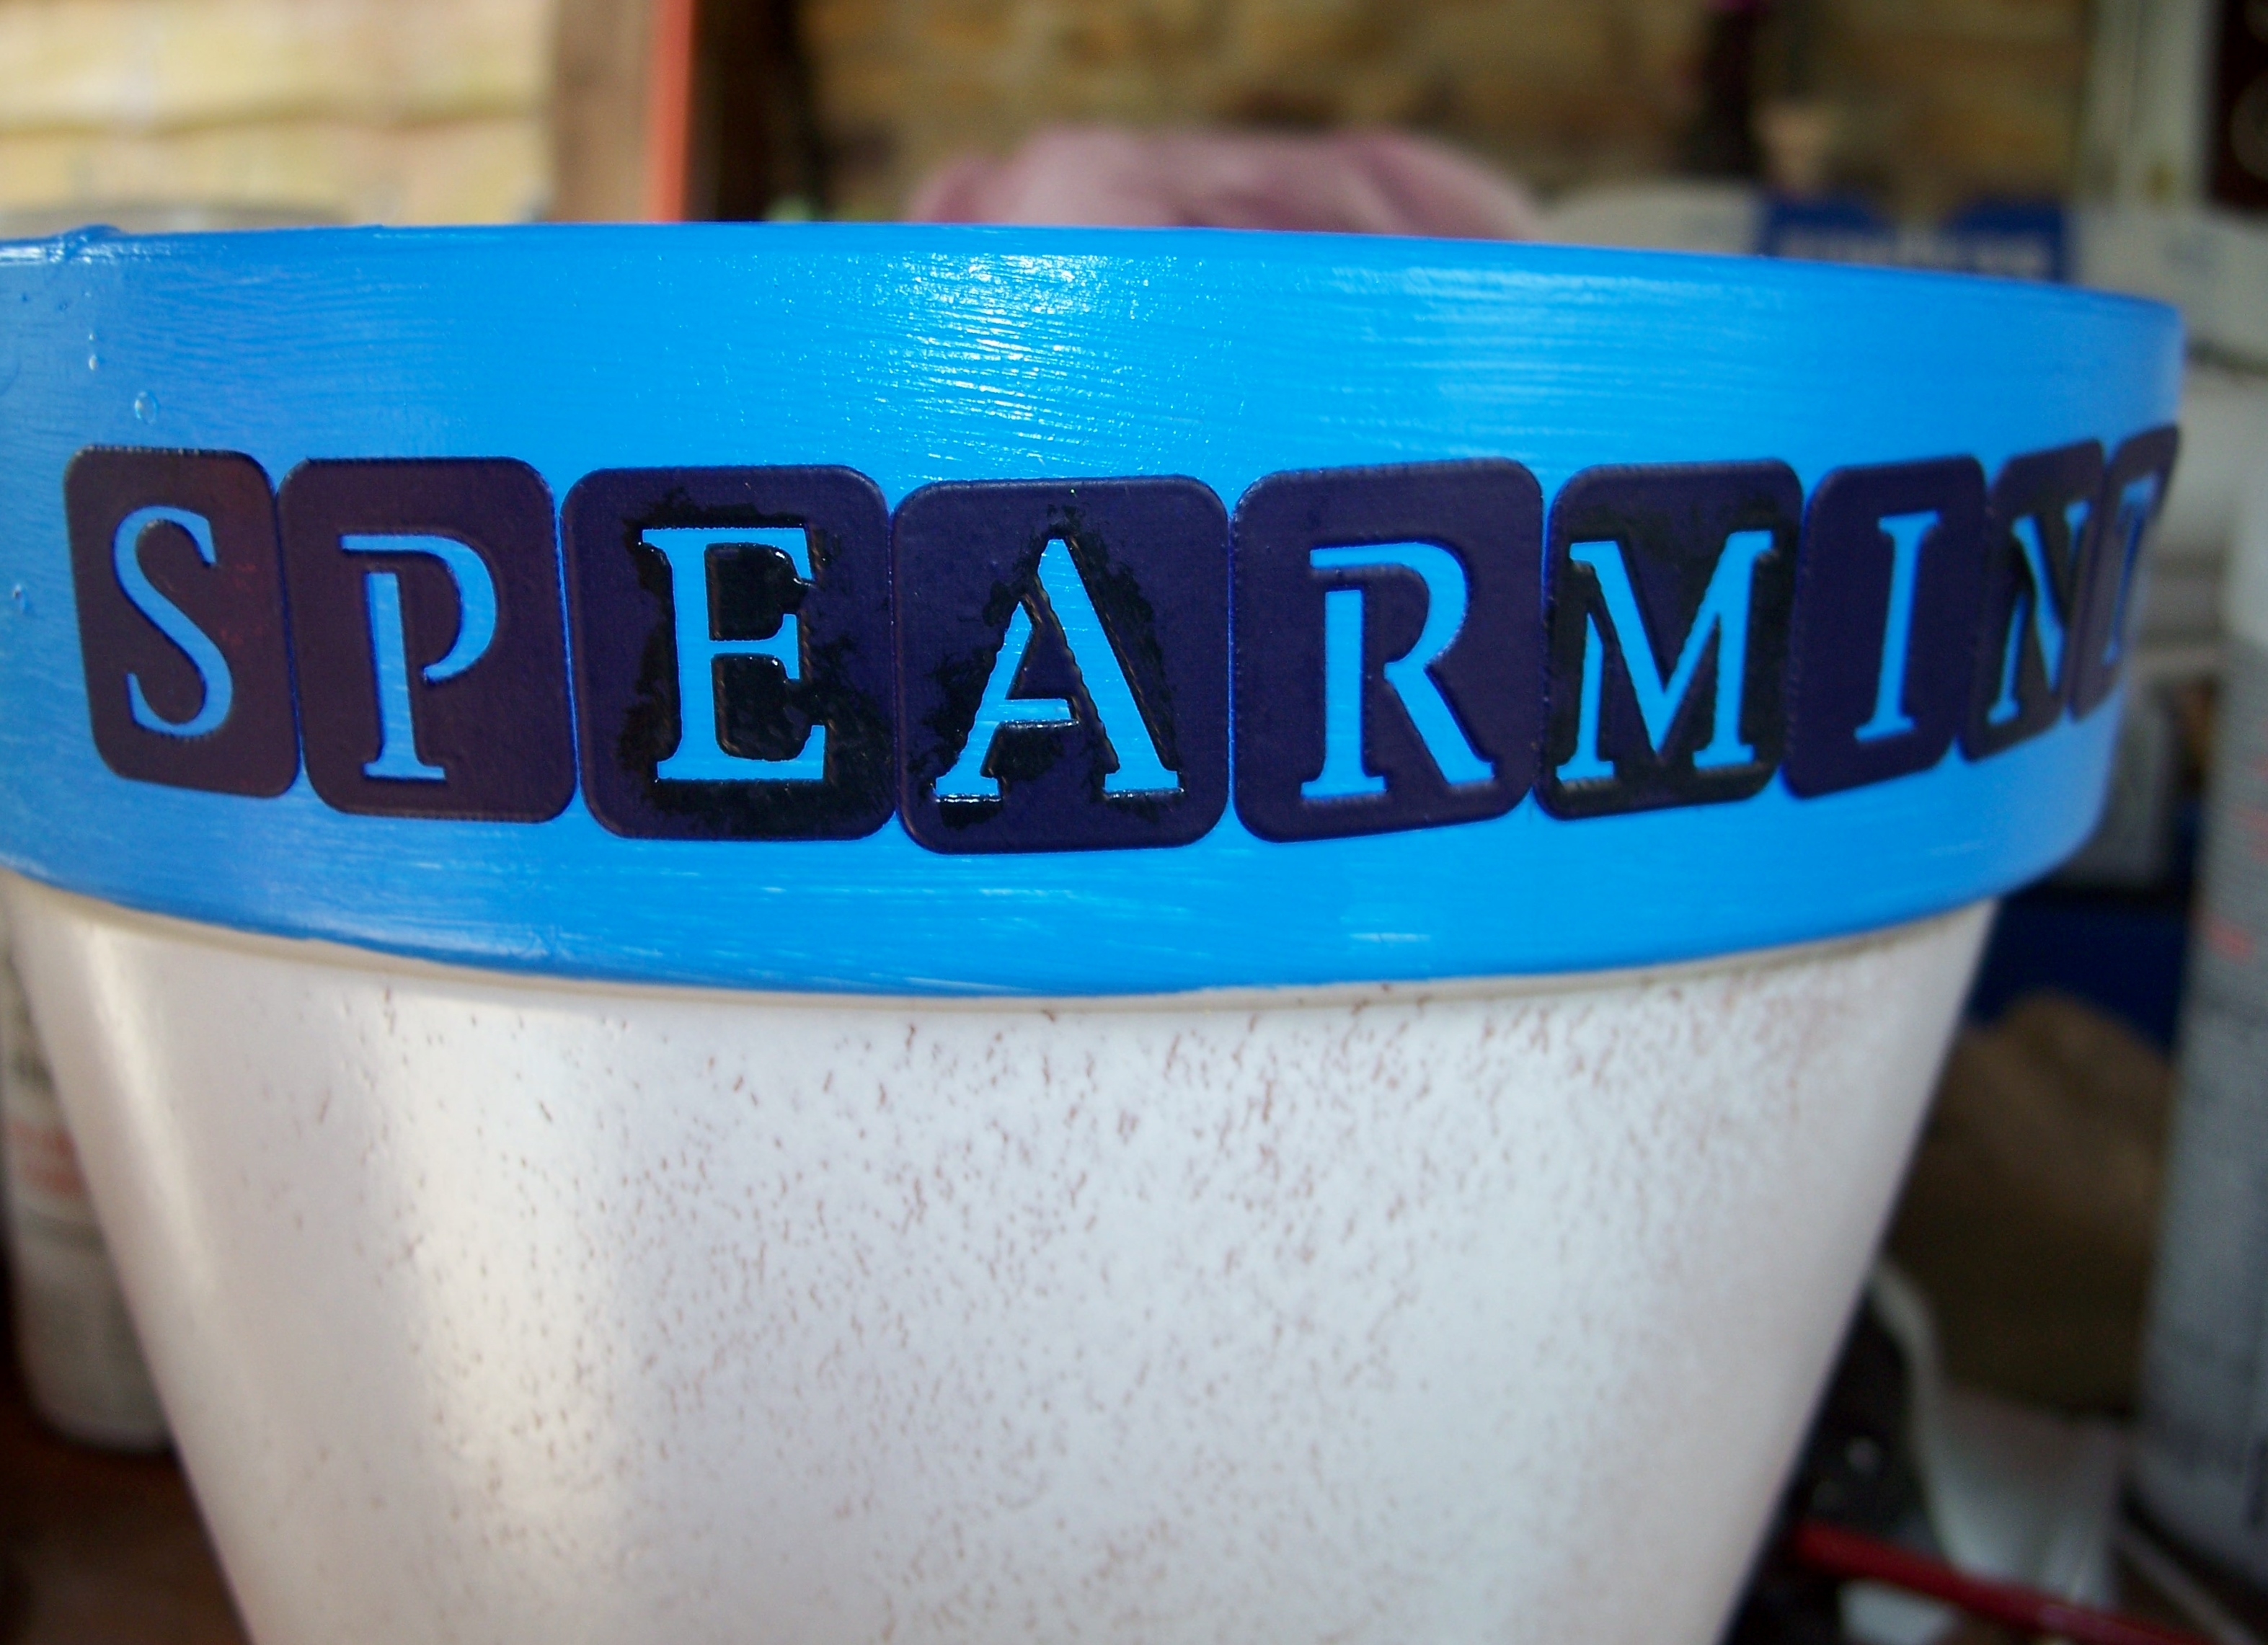
Spearmint, 1
|
|
|
Sweet violets |
|
|
Spearmint, 1
|
|
|
Sweet violets |
|
|
Spearmint, 1
|
|
|
Sweet violets
|
|
|
|
Herbs tend to spread so I gave them a lot of room to grow. I also plan on adding a bunch of top soil to the beds since we have piles of it across the front from digging the new pathway. I plan on mixing in some organic fertilizer so hopefully this will help make this garden more productive.
Last year I laid black fabric down between the beds and there where no weeds all summer and none so far this year.
Update on the bird garden = The daffodils are starting to grow and I had to move a bunch of them yesterday into the center area (they were in the way of the new path) so hopefully they will continue to grow. I plan on adding a bunch of white narcissists this spring to the center’s outer edge. I can hardly wait until spring to see the results! I know that this year will not be great because they are all newly planted but still looking forward to it. I have always wanted a large patch of daffodils but never created that type of garden before.
Save
Save